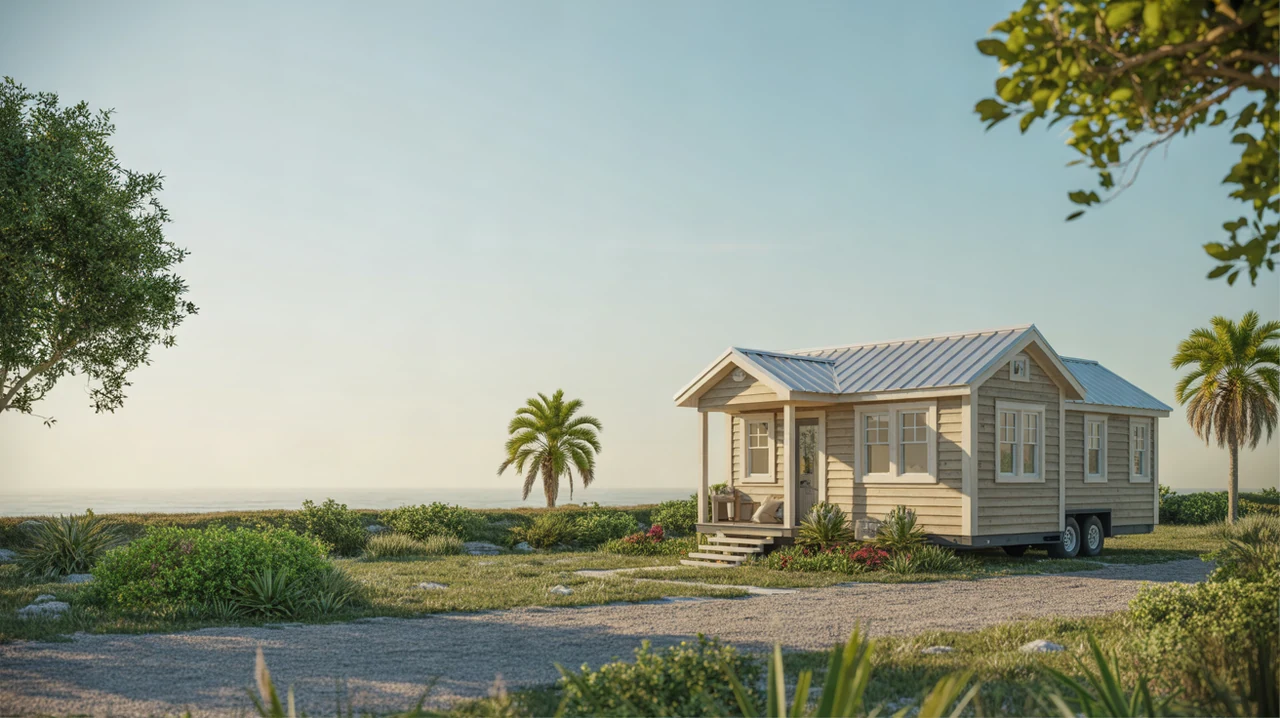
Moving into a tiny home is more than just picking a smaller space. It means making intentional choices about what you own and how you live. A solid downsizing plan can turn a stressful move into a smooth transition, especially in a coastal area like Daytona Beach where storage, moisture, and lifestyle all play a role.
Use this step-by-step checklist to plan your move from a larger home or apartment into a tiny home, whether it’s on wheels or on a foundation.
Step 1: Define Your Tiny Home Lifestyle
Before you start sorting boxes, get clear on how you’ll actually live in your tiny home. This will guide what you keep and what you let go.
Questions to Ask Yourself
- How many people will live in the tiny home (and pets)?
- Is it full-time or part-time? Weekend beach place, seasonal home, or primary residence?
- Where will it sit? Tiny home community, backyard, RV park, or rural land near Daytona Beach?
- How mobile do you want to be? Moving a few times a year vs. staying mostly in one spot.
- What are your non‑negotiables? Surfboard storage, desk for remote work, space for a dog, or a ground-floor bed.
Your answers will affect your layout and storage needs. For example, if you plan to retire in your tiny home, you may want to combine downsizing with accessible and aging‑in‑place features.
Step 2: Take Inventory of What You Own
Most people underestimate how much they own. A quick inventory will help you see the big picture and avoid overstuffing your new tiny space.
Simple Home Inventory Checklist
Walk room by room and list major categories:
- Furniture (beds, sofas, dressers, tables, desks)
- Appliances (large and small)
- Kitchenware (pots, pans, dishes, gadgets)
- Clothing and shoes
- Outdoor and hobby gear (beach gear, bikes, boards, fishing gear)
- Electronics (TVs, computers, gaming systems)
- Sentimental items (photos, heirlooms, collections)
- Paper files and books
Mark each item or category as:
- Must keep – You use it often or it’s truly meaningful.
- Maybe – You’re unsure; these will need a second review.
- Let go – Broken, duplicates, or rarely used.
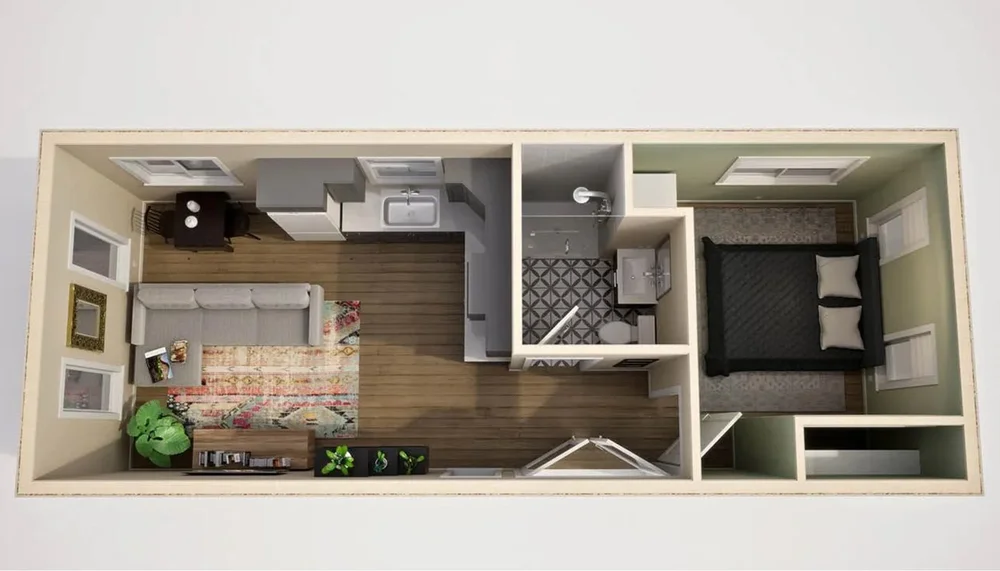
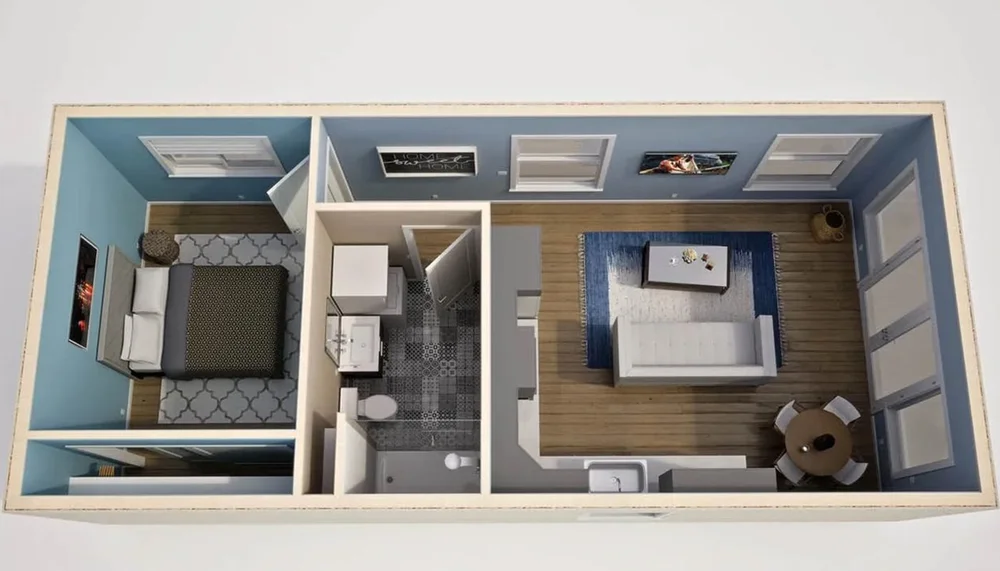
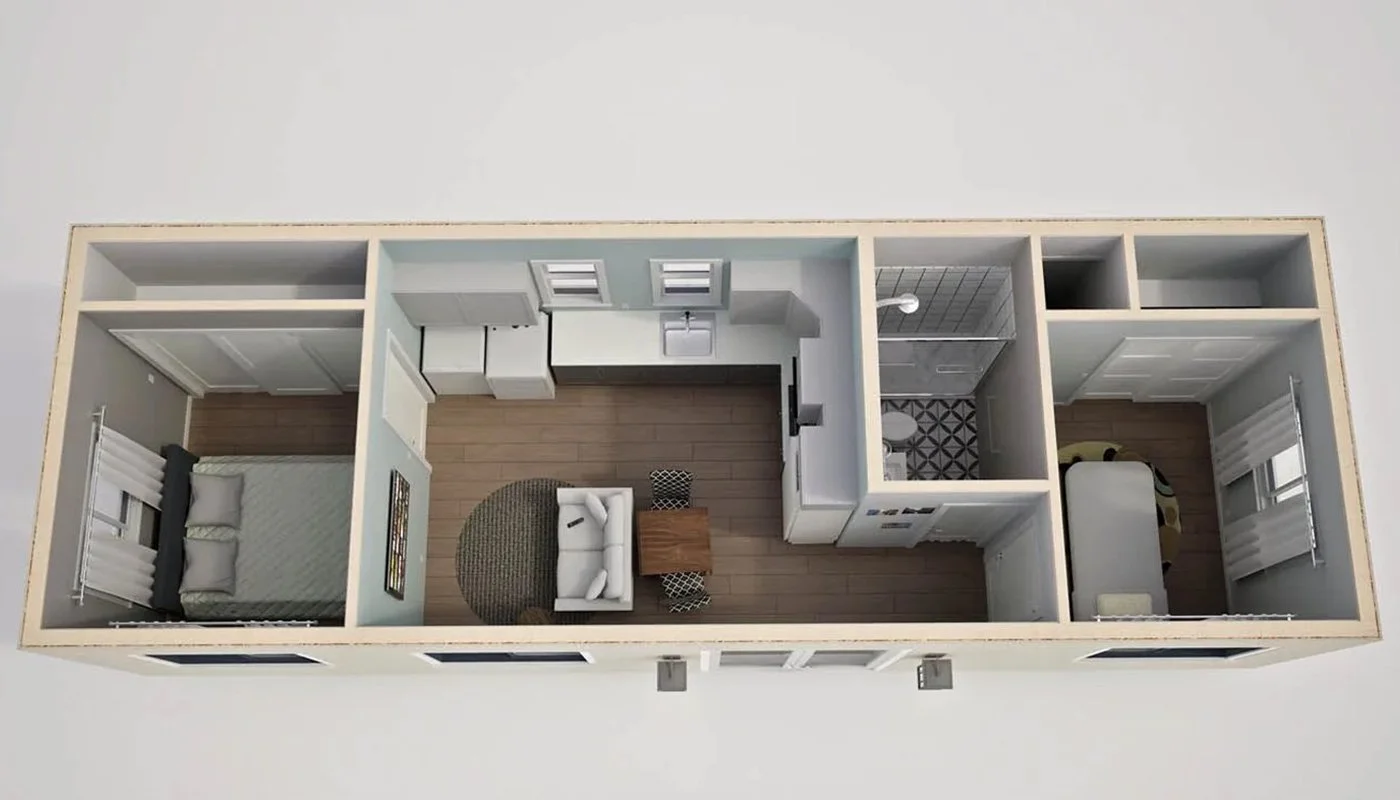
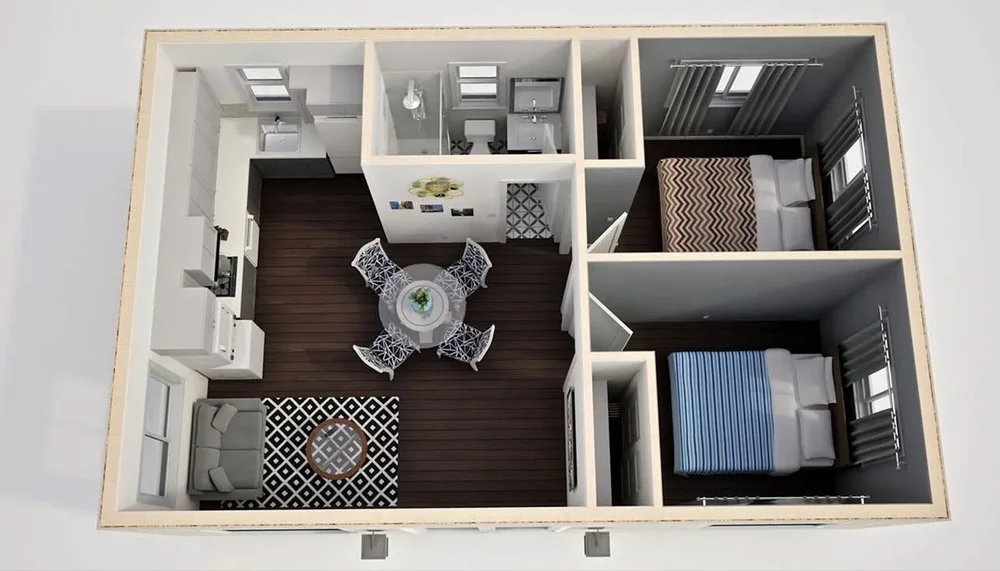
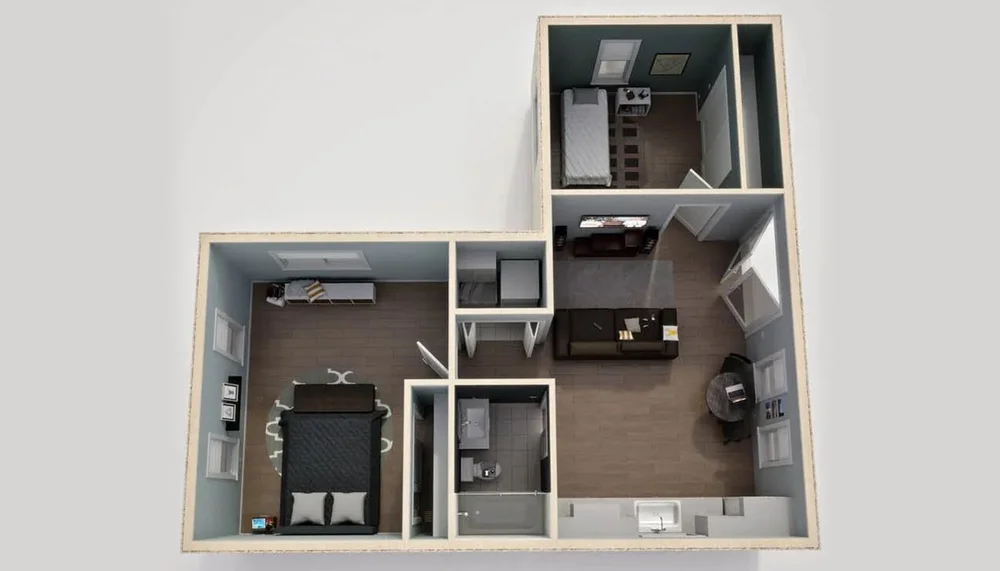
Step 3: Plan Around Your Actual Tiny Home Layout
Downsizing is much easier when you know what your tiny home can realistically fit.
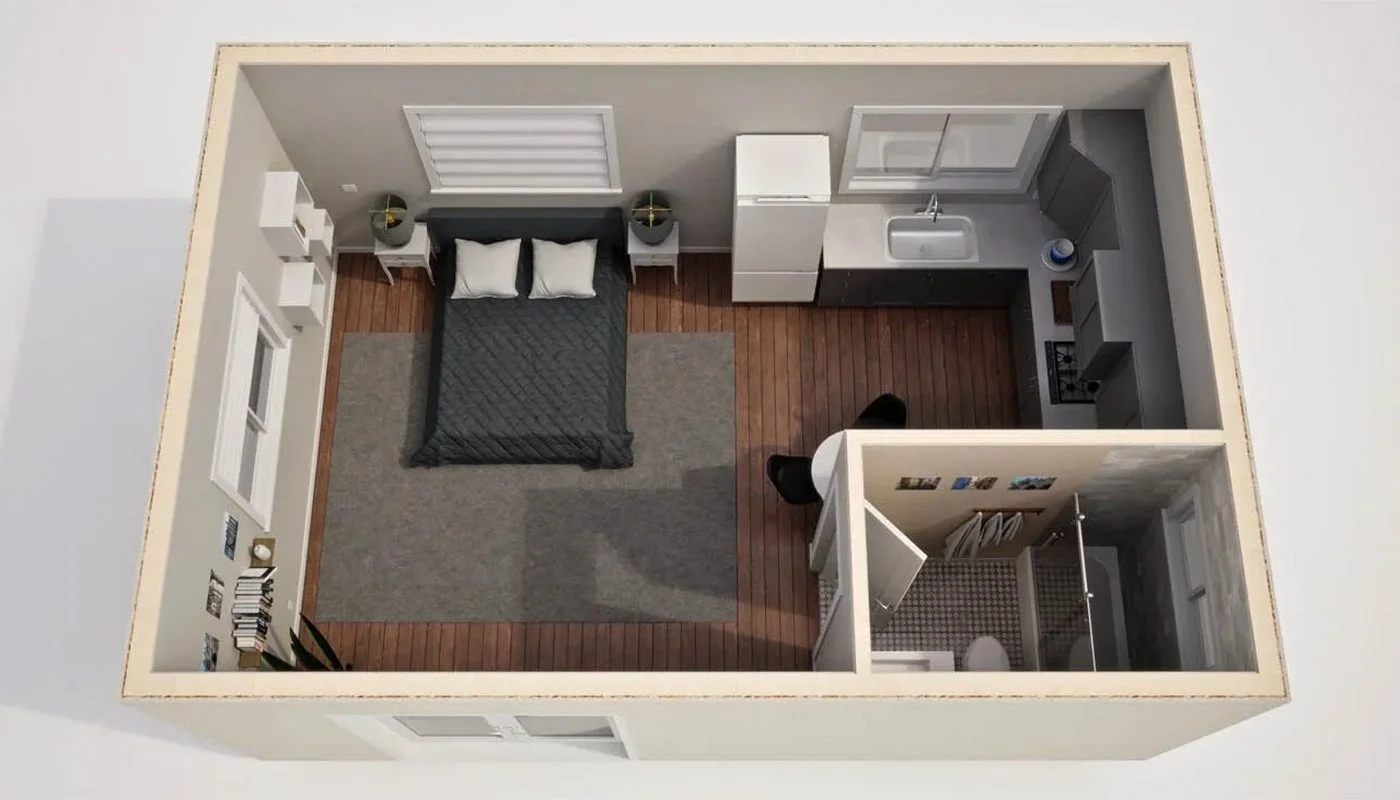
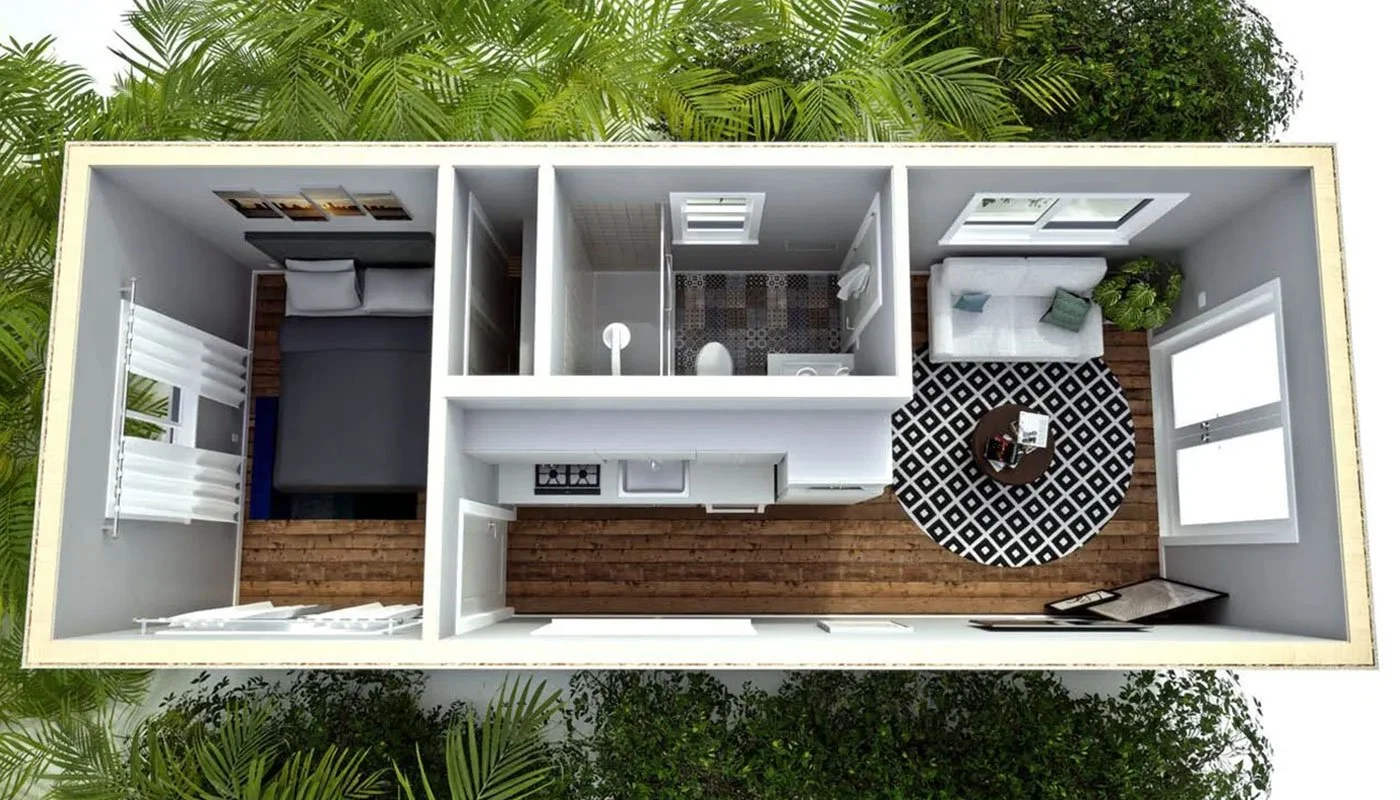
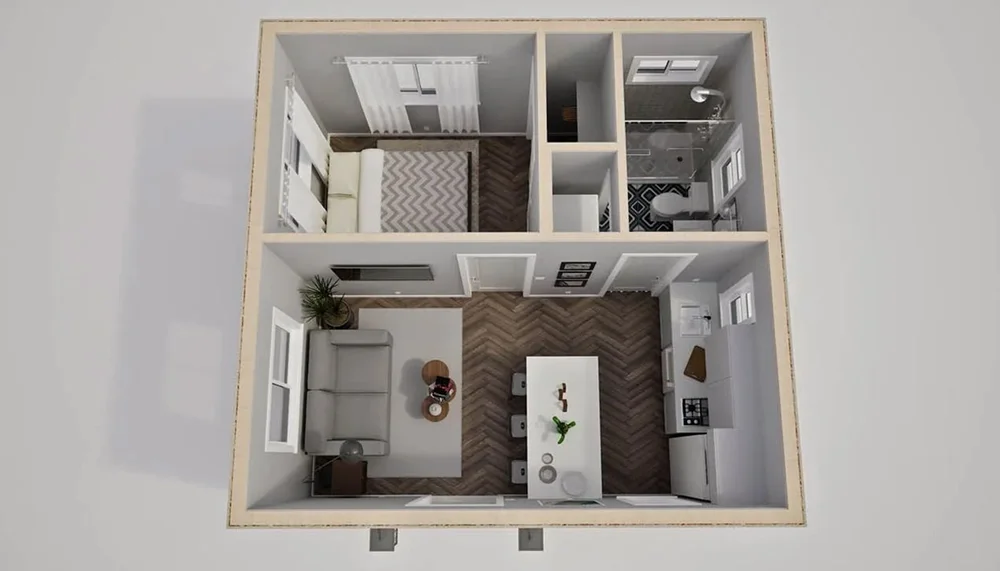
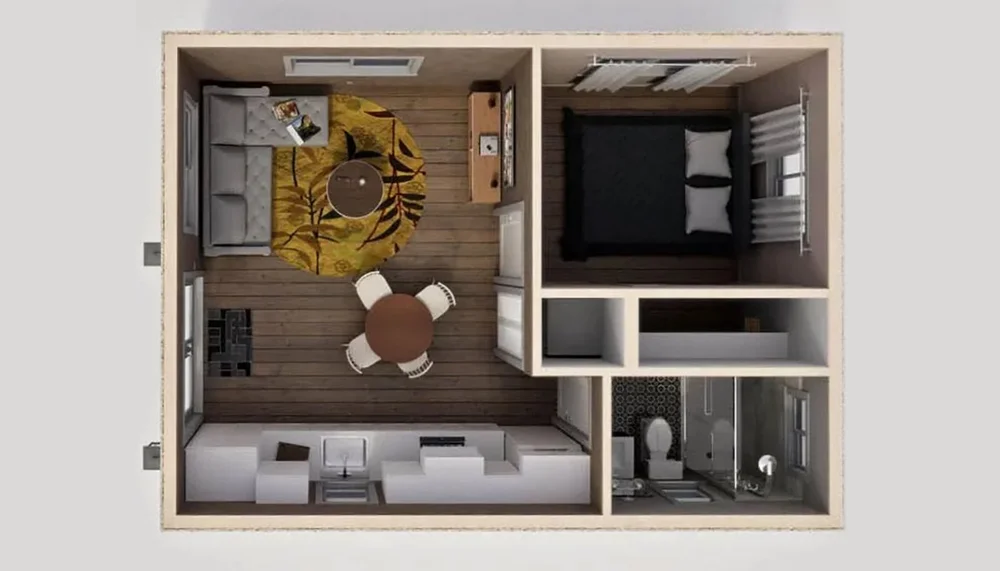
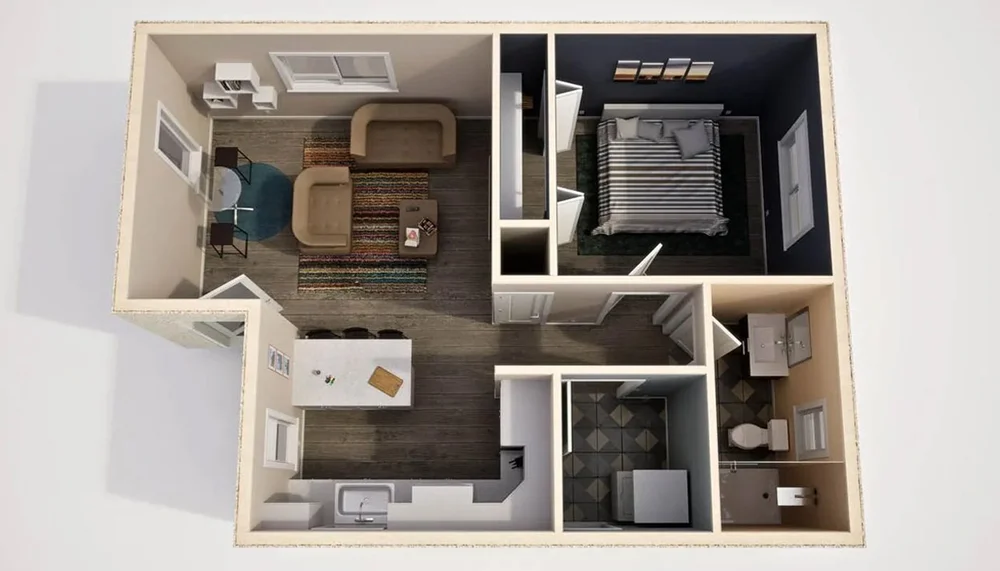
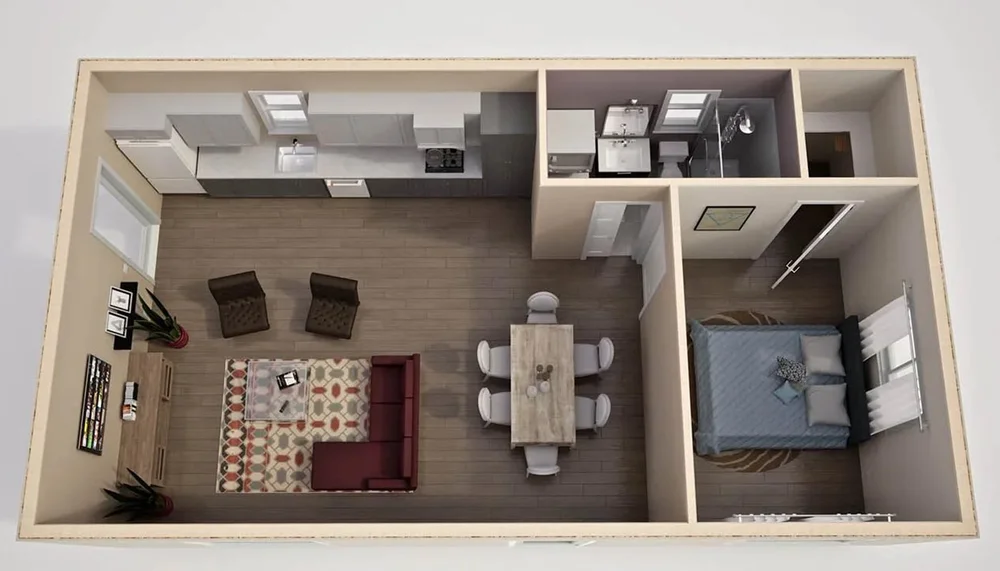
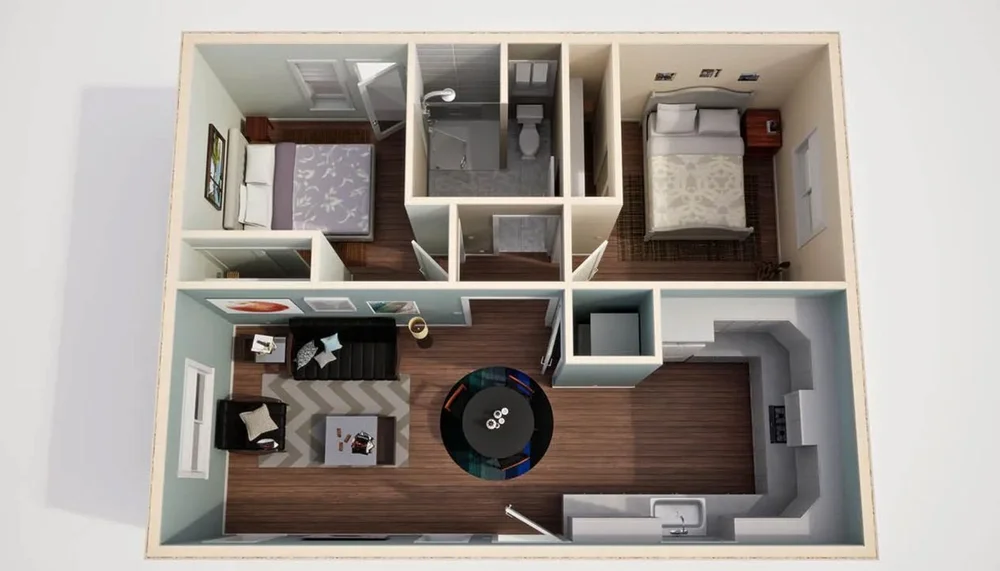
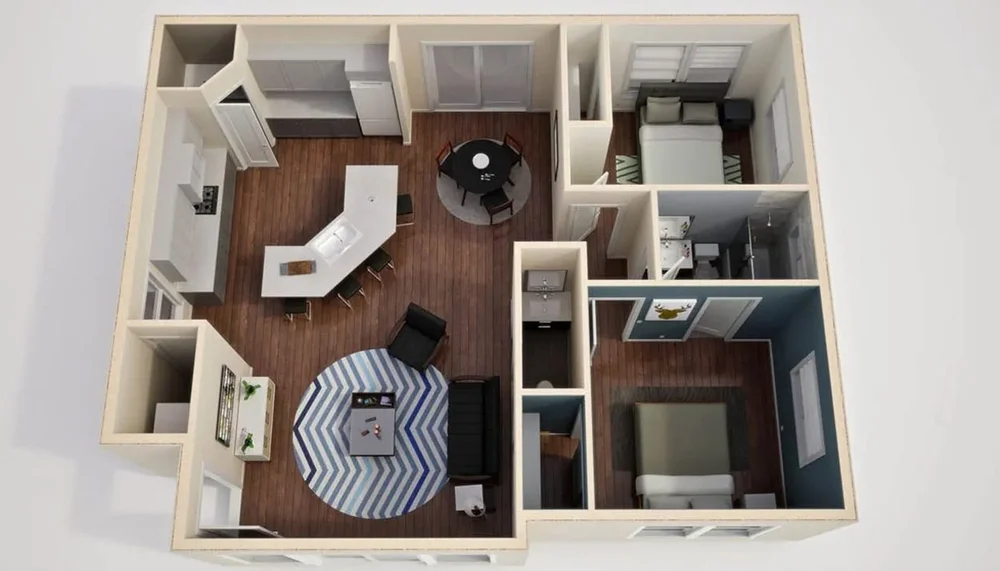
- If you already have a floor plan, review it in detail or visit similar models. You can explore ideas at Tiny Home Floor Plans and Layout Ideas.
- If you’re still choosing a design, think through where key items will live: bed size, work area, kitchen storage, and outdoor gear.
Match Belongings to Specific Spaces
For each major category, decide where it will go in your tiny home:
- Clothes – How many hangers and drawers will you actually have?
- Kitchen – How many plates, mugs, and pans fit in your cabinets?
- Hobbies – Will surfboards, kayaks, or bikes hang outside, go in a shed, or mount on a vehicle?
- Work – Is there a dedicated desk or a fold-down table?
If you can’t name a home for an item in your future layout, that’s a sign it might not make the cut.
Step 4: Use the Four-Box Method to Declutter
Instead of randomly tossing items, use a simple system in each room:
- Keep for Tiny Home – Must-haves that fit your layout and lifestyle.
- Store Elsewhere – Items you need but not in daily life (seasonal décor, family heirlooms). Consider nearby storage options or a family member’s home.
- Sell/Donate – Usable items someone else can enjoy.
- Recycle/Trash – Broken, outdated, or unusable items.
Work room by room on a schedule—such as one area per week—to avoid burnout. The earlier you start, the smoother your move will be.
Step 5: Special Considerations for a Coastal Tiny Home
Downsizing in the Daytona Beach area includes a few extra decisions related to climate, storms, and outdoor living.
Moisture, Salt Air, and Storage
- Favor rust‑resistant outdoor furniture and gear.
- Limit items that are easily damaged by humidity (excess paper, delicate fabrics).
- Invest in sealed bins for stored clothes, beach gear, and tools.
When choosing which furnishings and materials to keep, you may find it helpful to learn more about beach‑friendly tiny home designs and materials.
Storm Season Essentials
Tiny homes near the coast should be prepared for strong storms and potential flooding:
- Keep a compact emergency kit (water, first aid, flashlights, battery packs).
- Choose important documents to store digitally or in a waterproof case.
- Decide what valuables could be quickly loaded into a vehicle if you need to leave.
For more on planning for local conditions, see Tiny Home Safety: Storms, Flooding, and Anchoring.
Step 6: Create Tiny-Home-Friendly Categories
When you’re down to the items that might go with you, use these tiny-home-specific limits.
Clothing and Personal Items
- Build a capsule wardrobe for the Florida climate: breathable fabrics, layers, and weather‑appropriate rain gear.
- Limit duplicates: a few versatile shoes instead of a full closet.
- Use small bins for toiletries and personal items.
Kitchen and Cooking
- Keep multi‑purpose cookware (one good skillet, one pot, one baking dish).
- Choose stackable dishes and nesting bowls.
- Limit small appliances to what you actually use weekly.
Hobbies and Beach Gear
- Prioritize what you use most: one board, one bike, or one main water sport setup.
- Hang or mount gear vertically to free up floor space.
- Donate extra gear that duplicates what you already have.
Step 7: Decide What to Store, Sell, or Gift
Not everything has to be squeezed into your tiny home. Some items can live elsewhere—or move on to new owners.
When Storage Makes Sense
Consider off‑site storage for:
- Irreplaceable family heirlooms
- Seasonal or business records you must keep
- Large tools or equipment used occasionally
Just be sure that storage costs fit your budget long term. You can get a sense of ongoing expenses from Maintenance and Upkeep Costs for Tiny Homes.
Sell, Donate, or Gift
- List higher‑value items online well before your move date.
- Donate gently used items to local charities.
- Offer sentimental pieces to family members who will appreciate them.
Step 8: Practice Living With Less Before You Move
A trial run can reveal what you truly need day to day.
- Empty one room or area in your current home and set it up with only what you plan to bring.
- Live with just those items for a few weeks.
- Make a note of anything you never used—those may be good candidates to remove from your “keep” list.
If you have kids or pets, this is also a good way to see how everyone adjusts to a smaller, shared space. You can find more family‑focused tips in Families in Tiny Homes: What to Know Before You Buy and Pet‑Friendly Tiny Living: Designing for Dogs and Cats.
Step 9: Final Pre‑Move Checklist
As move‑in day approaches, use this quick list to stay on track:
- Confirm where your tiny home will be parked or placed. If you’re still exploring options, review Best Tiny Home Communities and Parking Options.
- Measure large items (mattress, table, appliances) against your tiny home layout and doorways.
- Label boxes by zone (kitchen, loft, bath, outdoor gear) and unpack the essentials first.
- Keep important documents, keys, medications, and daily essentials in a clearly marked, easy‑to‑reach bag.
FAQs About Downsizing for a Tiny Home
How far in advance should I start downsizing?
Starting 3–6 months before your target move date works well for most people. If you’ve lived in your current home for many years, give yourself more time so decisions don’t feel rushed.
What if I downsize too aggressively and regret letting something go?
Use a “maybe” box with a deadline. Store those items for 3–6 months before the move. If you never reach for them in that time, it’s easier to feel confident about selling or donating them.
Where can I learn more about tiny home buying and budgeting?
For a broader overview of the buying process around Daytona Beach, visit the Tiny Homes for Sale Daytona Beach Buyer’s Guide and explore topics like Financing a Tiny Home and Tiny Home Prices and Cost Breakdown.
Is downsizing different for a tiny house on wheels vs. on a foundation?
The core process is the same, but weight and mobility matter more for homes on wheels. You may need to reduce heavy items and secure belongings carefully. To compare the two options, see Tiny Houses on Wheels vs Foundation.
Thoughtful downsizing takes time, but it’s what makes tiny living feel open, organized, and stress‑free. Use this checklist as a guide, adjust it to your lifestyle, and take the move one step at a time.
For more planning resources and local insights, browse our Blog / Guides.